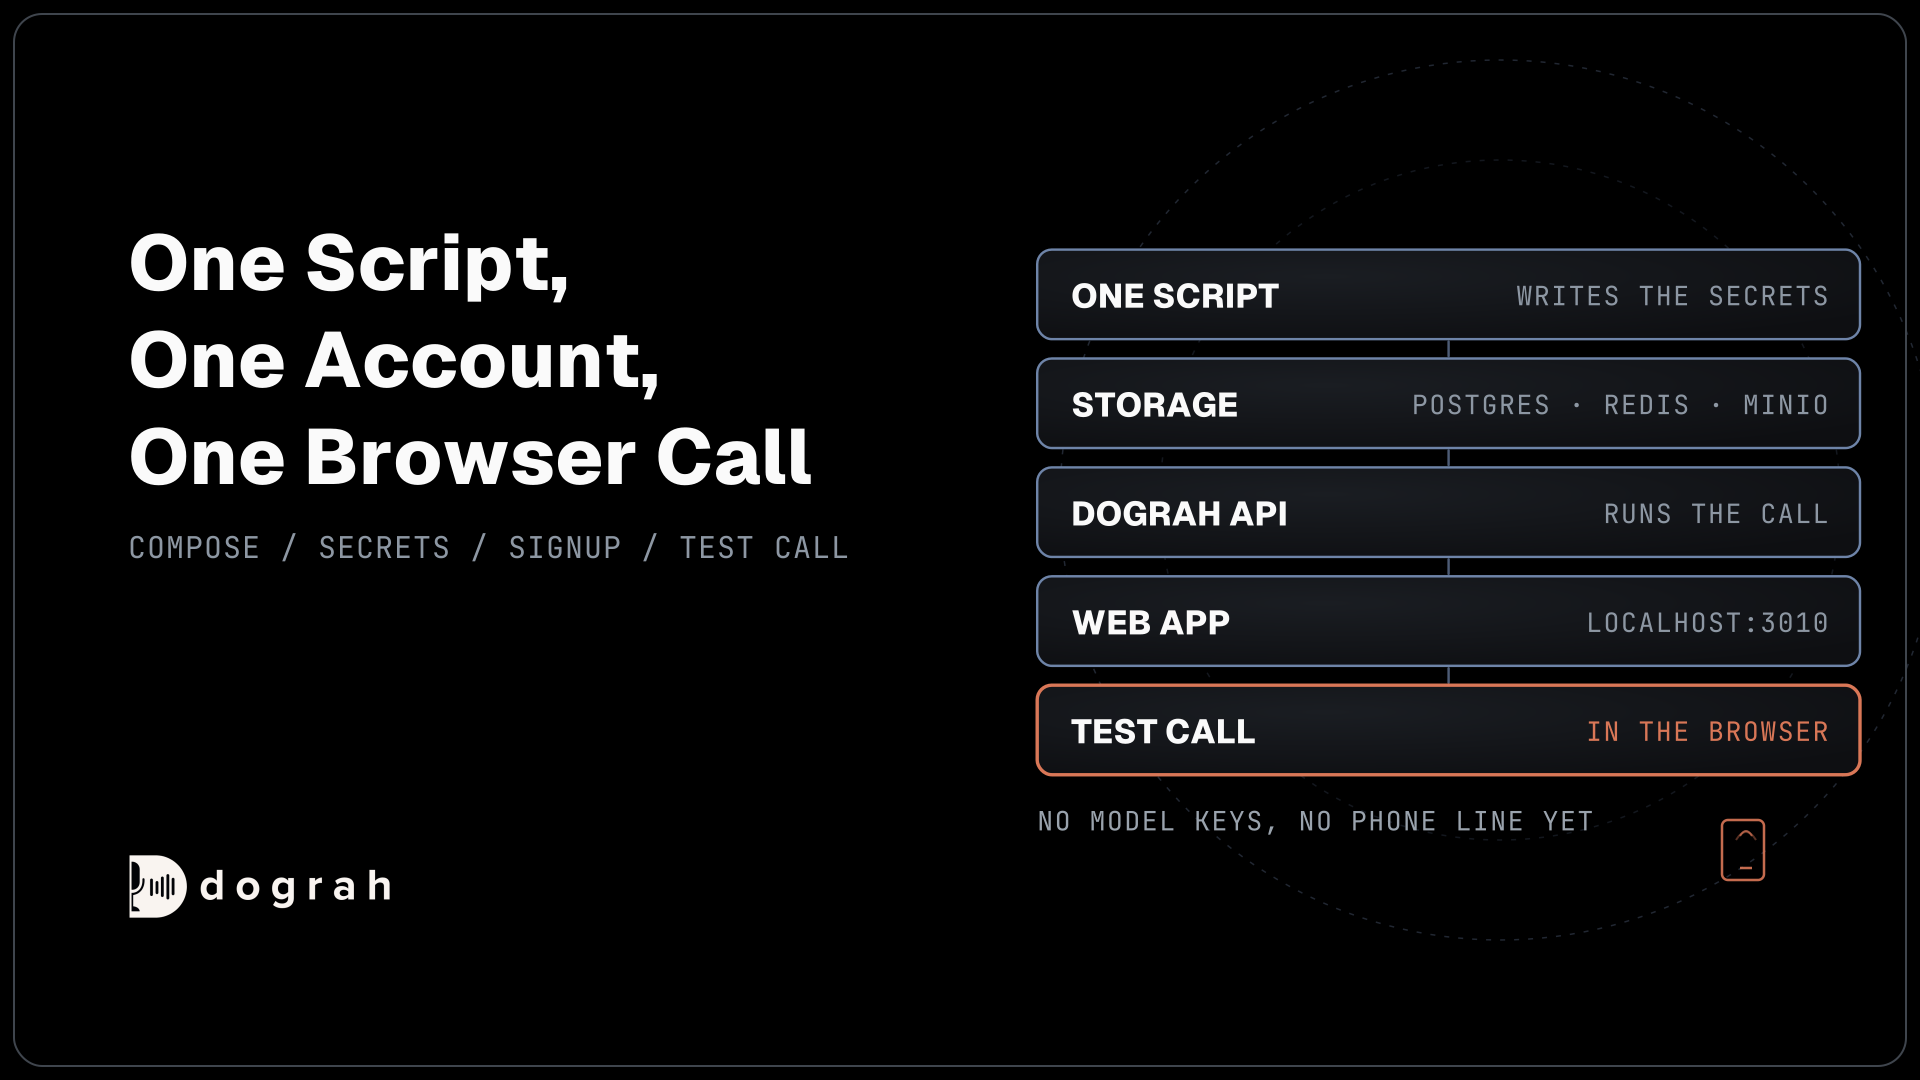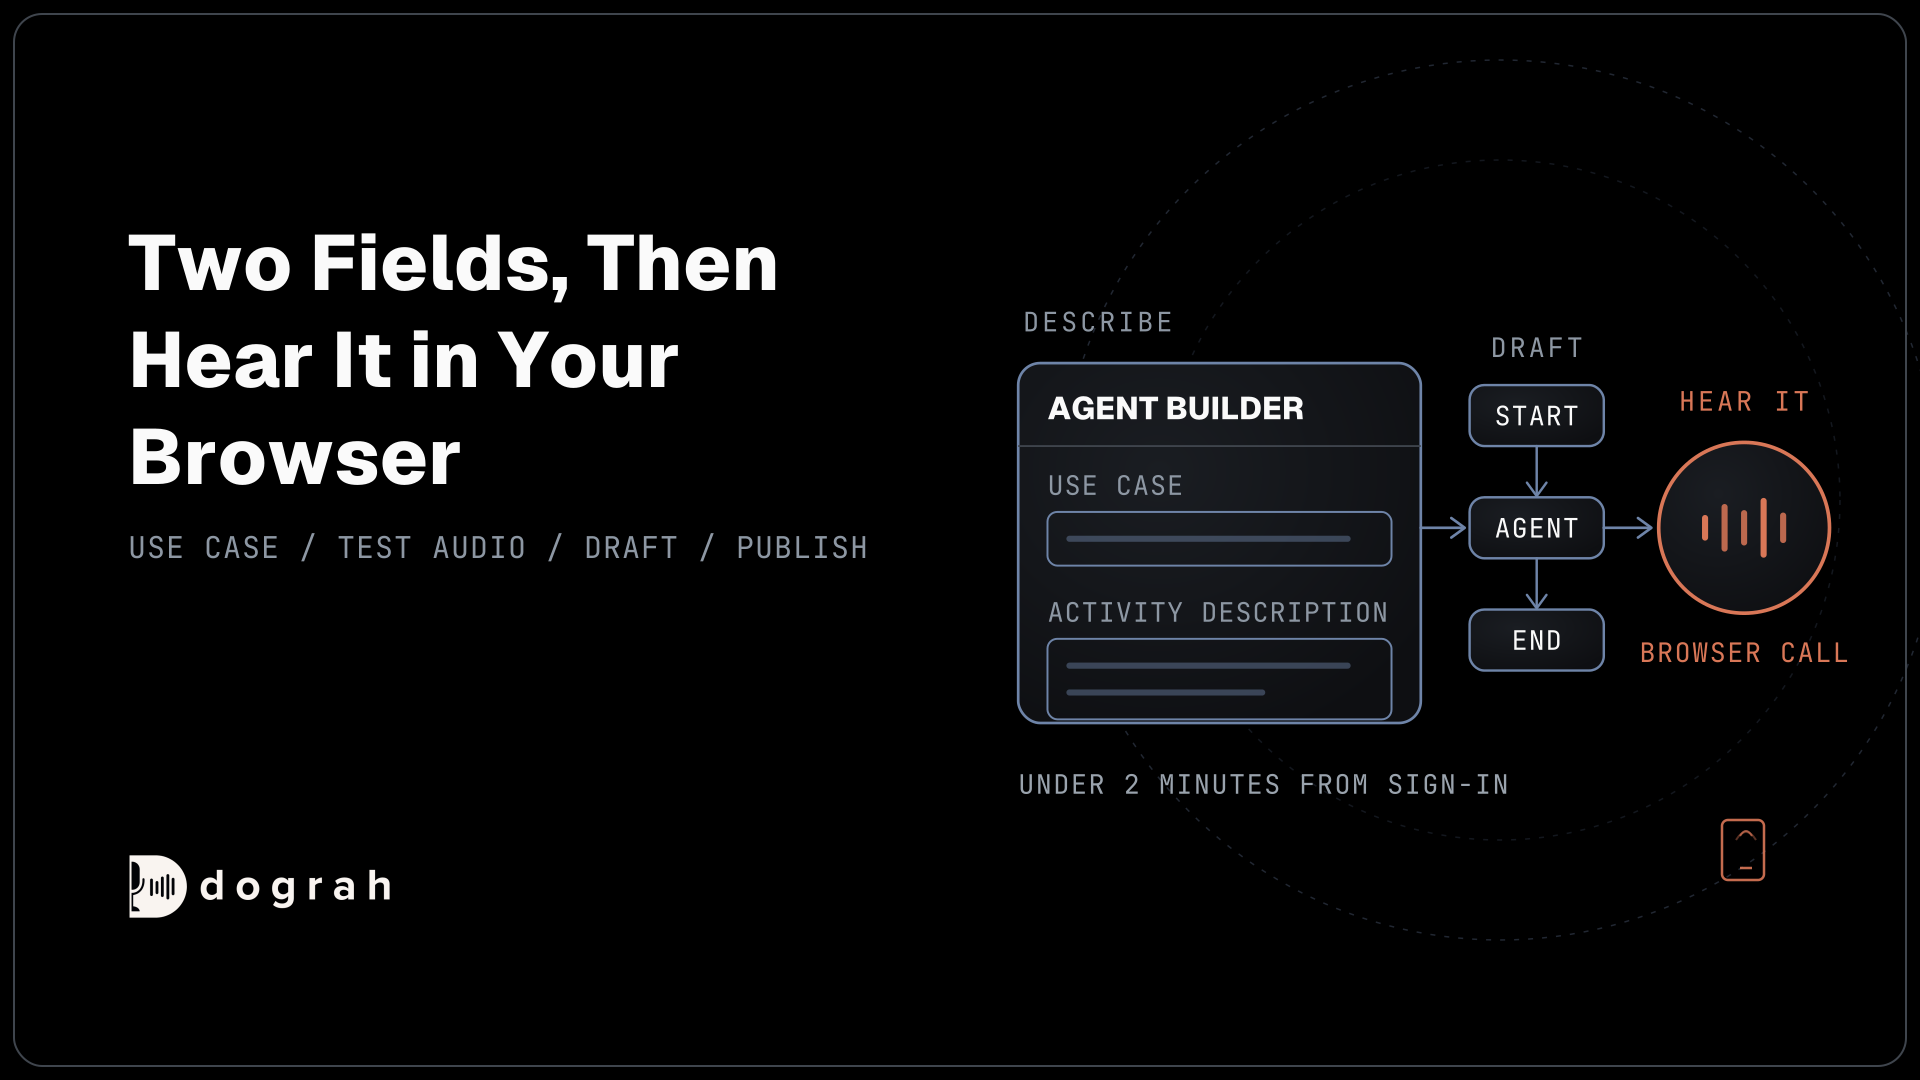
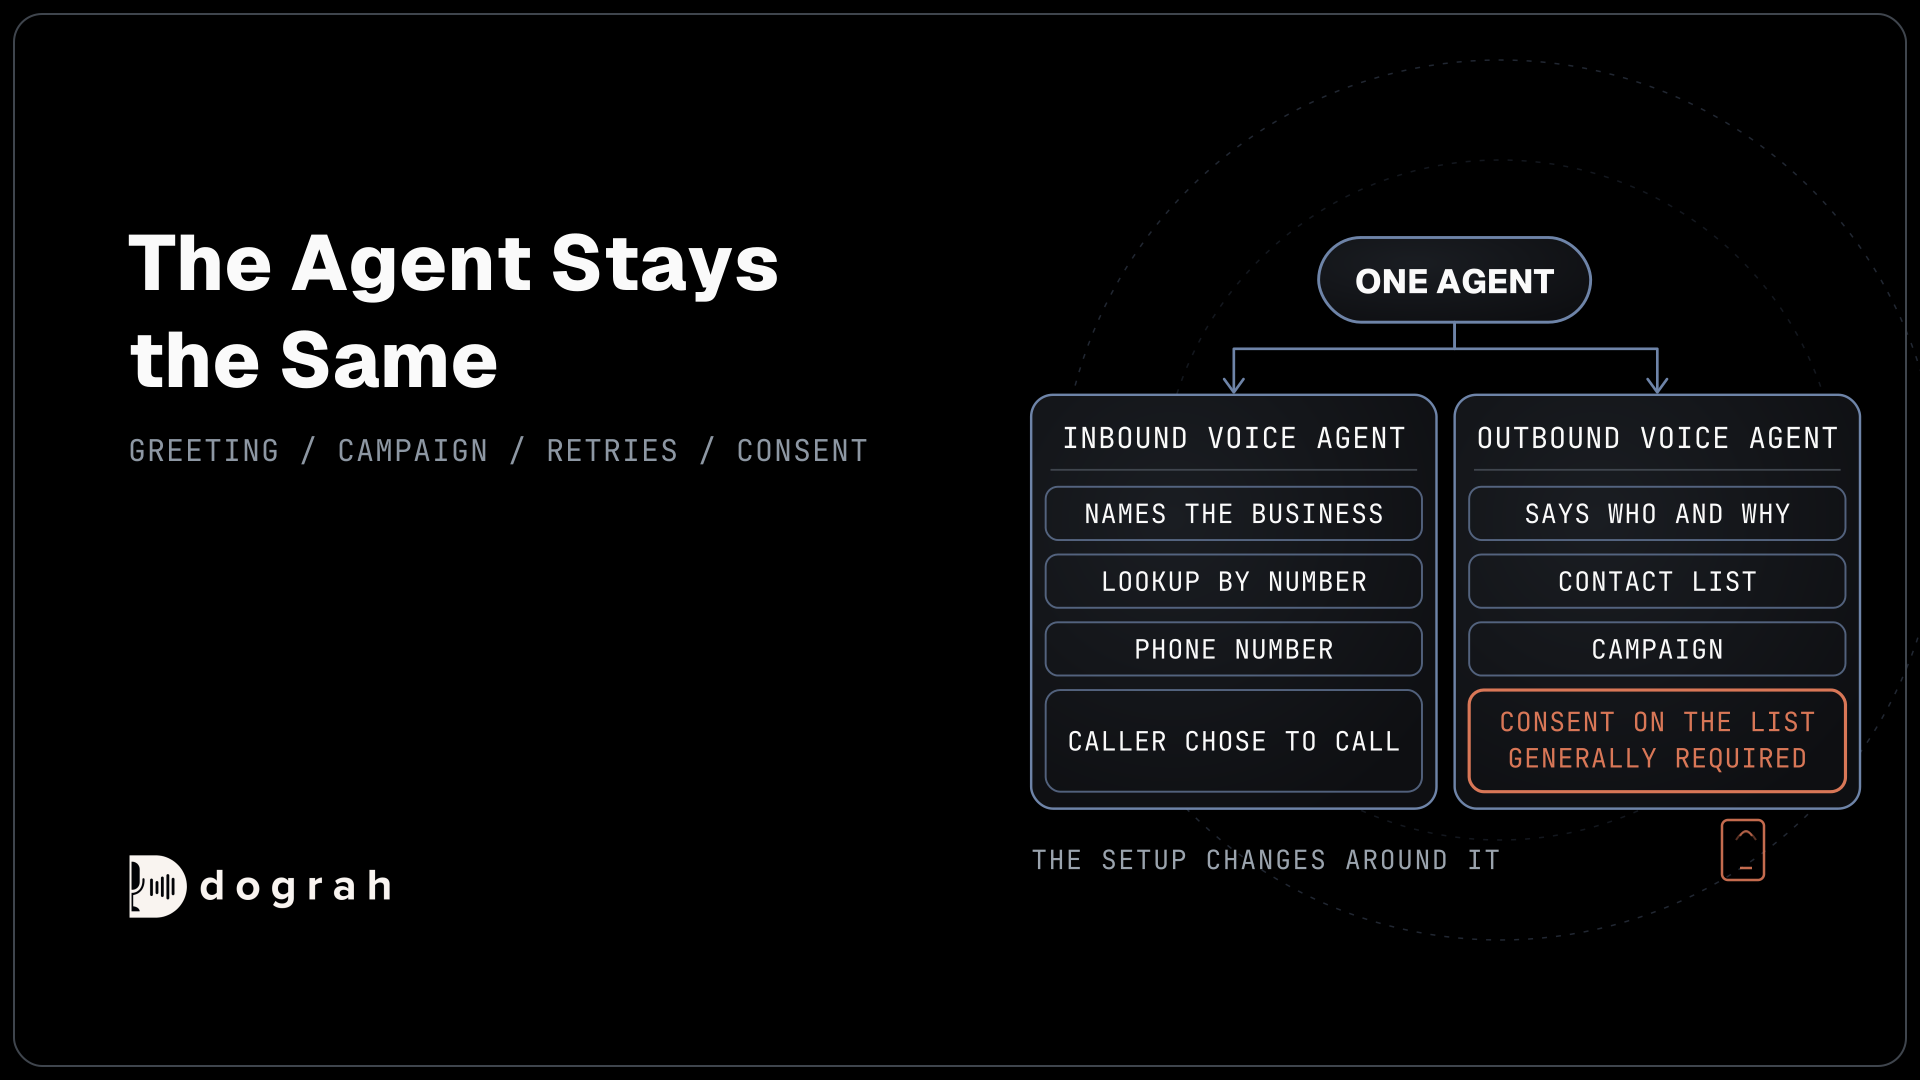

Inbound and outbound voice agents can share one agent. For inbound, you attach the agent to a phone number and greet callers with the business name. For outbound, you add a campaign with a contact list, calling hours and retries, and you need consent before the first call. You can self-host Dograh or run it on Dograh Cloud.
Key Takeaways
- The agent stays the same. The phone setup and the greeting change around it.
- Inbound is the easier first build, because callers come to you.
- Outbound needs consent on the list before the campaign starts.
This post is part of our guide to how to build an AI voice agent, where choosing the call's direction is part of planning the call. Here we build an inbound and an outbound version of one agent, step by step, in Dograh, our open-source AI voice agent platform.
What you need before you start
You need one agent and one telephony configuration, and the same pair serves both directions. Our example is a dental clinic. Inbound, the agent answers patients who call to book. Outbound, the same agent calls patients who are due for a check-up.
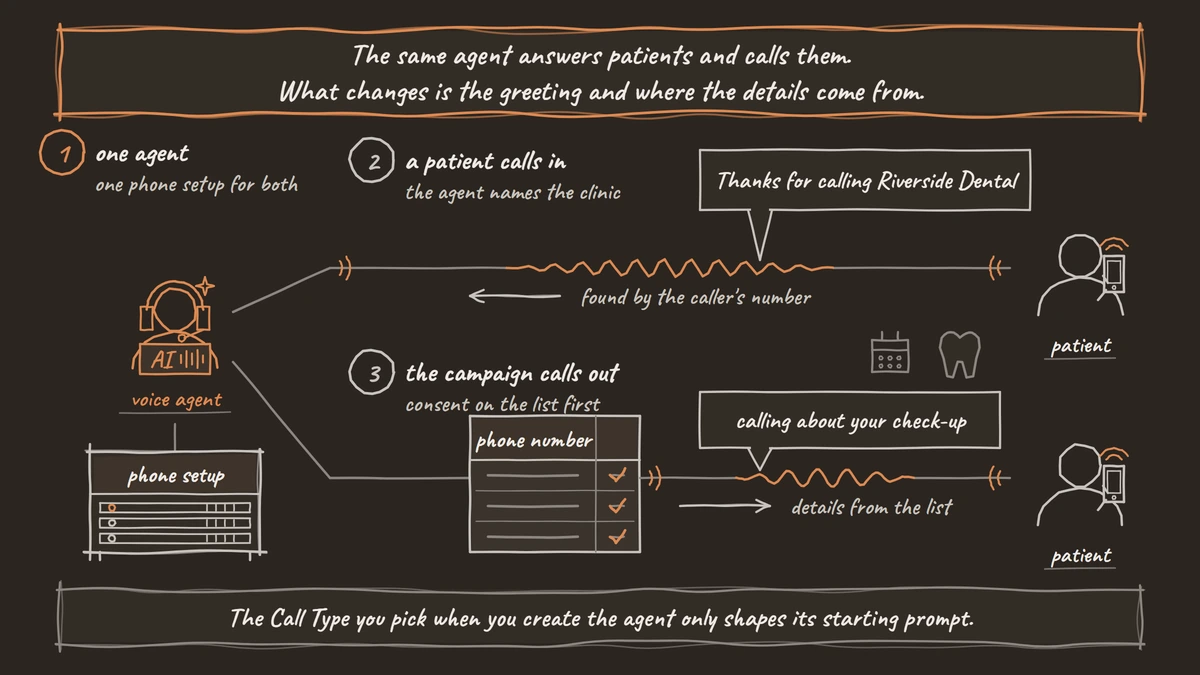
When you create an agent with Agent Builder, its Call Type is "Inbound (Users call AI)" or "Outbound (AI calls users)". That choice only shapes the starting prompt, so the agent you build can take calls in either direction. Inbound and outbound calls also share one telephony configuration. Open Telephony in the sidebar, click Add configuration and connect your provider. Dograh takes inbound calls on Twilio, Vonage, Plivo, Telnyx, Cloudonix, Exotel, Vobiz and Asterisk ARI. Our post on telephony for voice AI explains how these providers connect.
Here is what changes between the two builds:
| Part of the build | Inbound | Outbound |
|---|---|---|
| Greeting | Names the business and how to reach a person | Says who is calling and why |
| Caller data | Looked up by the caller's number | Comes from the contact list |
| Phone setup | Number's Inbound workflow | Campaign with a telephony configuration |
| Volume controls | None to set | Calling hours, retries, concurrency |
| Consent | The caller chose to call | Needed before the first call |
Step 1: Write a greeting for each direction
The first sentence differs most, because an inbound caller knows who they called and an outbound one doesn't. Open the Start Call node and set the Greeting Text, which is spoken word for word.
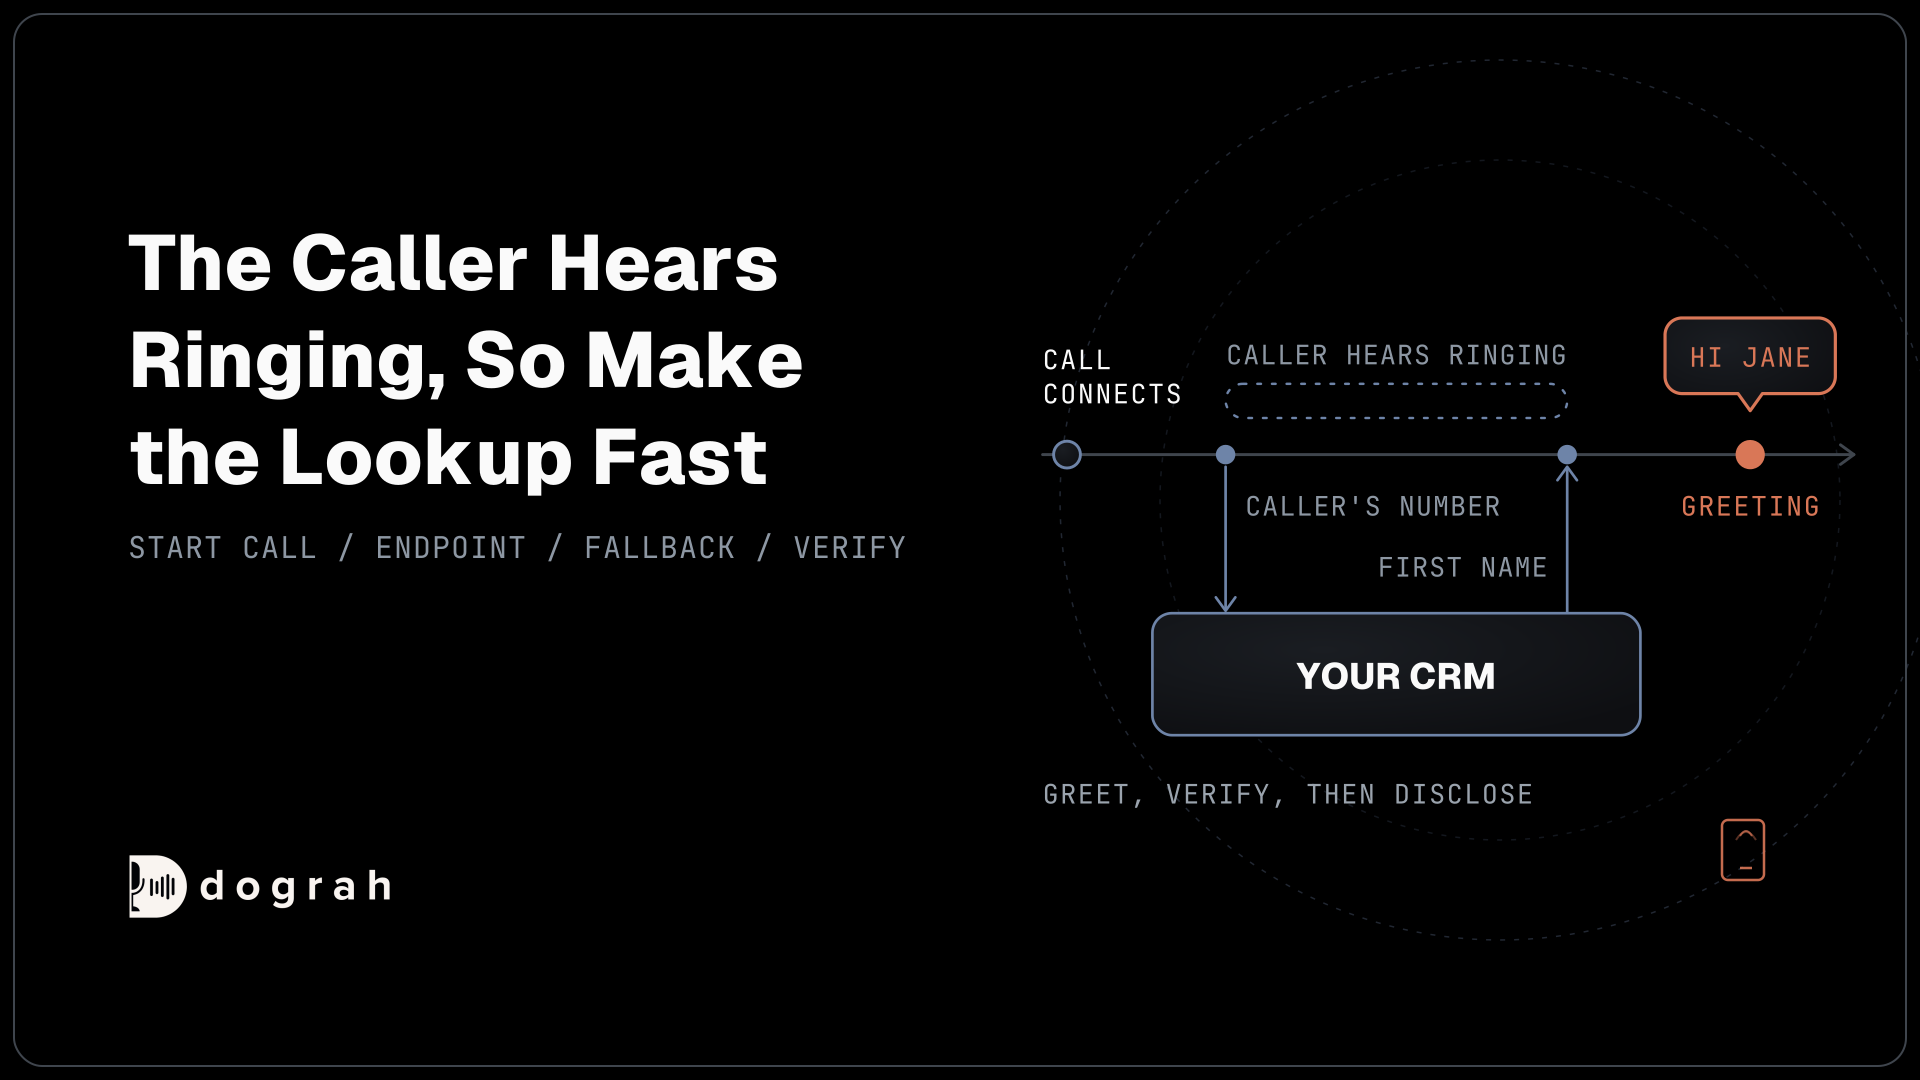
Inbound, name the clinic and say how to reach a person: "Thanks for calling Riverside Dental. I can book or move an appointment, or put you through to the front desk." Outbound, say who is calling and why in the first breath: Hi {{first_name | there}}, this is the assistant at Riverside Dental, calling about your check-up. Give every variable a fallback, or a missing value is spoken as empty text.
If you want to tell callers they're speaking with an automated assistant, or your location requires it by law, write it in the Greeting Text along with the business's name.
For a campaign, a single row in the contact list can replace the greeting. Add the columns greeting_override_type set to text and greeting_override_text with that row's line.
Check: each version's greeting names the clinic, and the outbound one says why it is calling.
Step 2: Bring in the right data
Each direction gets the caller's details from a different place. Inbound, the only thing you know at first is the caller's number. Set Pre-Call Data Fetch at the bottom of the Start Call node to Inbound calls only, and your endpoint looks the patient up by that number before the greeting. Our walkthrough of pre-call data fetch with CRM context shows the request and the reply your endpoint sends.
Outbound, the contact list carries the details. Every column beyond phone_number becomes a variable for that call, such as first_name or last_visit. You can still set the fetch to Outbound calls only to refresh a record. It runs after the patient answers, and it never decides whether to call.
The telephony variables swap sides too. On an inbound call, caller_number is the patient and called_number is your line. On an outbound call, it is the other way round.
Either way, a phone number finds a record but doesn't prove who answered. The agent verifies the patient with an approved check before it mentions any appointment detail.
Check: a test call in each direction uses the patient's first name, and no detail comes before the check.

Open Source Alternative to Vapi / Retell
Self-hosted voice agent platform — no per-minute fees
dograh-hq/dograh
Star on GitHub
Step 3: Connect a number for inbound calls
An inbound agent goes live when a phone number points at it. In Telephony, open your configuration, click Add phone number (or edit an existing one) and pick the agent under Inbound workflow. Save, then set your provider's incoming-call webhook to the Inbound webhook URL shown on the configuration page. The inbound calling page has the steps for each provider.
Several numbers can point at the same agent, for example one per clinic location. The dialled number reaches your endpoint as to_number, so one agent can greet each location by name. Inbound calls always run the published version, so click Publish version before you test by phone.
The upside is easy to see. Invoca's 2026 benchmarks report, drawn from more than 70 million calls, found that 44% of callers to businesses never speak with a person. An inbound agent answers every one of them.
Check: calling the number from your own phone reaches the published agent.
Step 4: Set up a campaign for outbound calls
An outbound agent works through a campaign, which dials a list for you. Open Campaigns, click Create Campaign and fill in the Create New Campaign page: a Campaign Name, the agent under "Agents & traffic split", your Telephony Configuration and Data Source Type set to CSV File. Upload a CSV with a phone_number column, masked here as +1415555XXXX, plus any columns the agent needs.
Open Advanced Settings before you create it. Max Concurrent Calls and Calls Started per Second set the pace. Enable Retries lets Dograh call back on a busy signal, no answer or voicemail, with Max Retries from 0 to 10 (default 2) and a Retry Delay. Retries matter, because Hiya's 2026 State of the Call report found that 86% of calls from unknown numbers go unanswered. Call Schedule sets the Time Slots in one Timezone per campaign, which defaults to UTC, so split a list that spans time zones into one campaign per zone. Click Create Campaign, then Start Campaign on its page. The campaigns overview covers each field.
Voicemail handling is off by default. Once you switch it on in Settings, "When voicemail is detected" starts at Disconnect the call, and our post on voicemail detection covers the choices. Delayed Start on the Start Call node sets how long the agent listens before it speaks. For one call at a time from your own system, use the API Trigger instead of a campaign.
Check: the campaign page shows calls starting inside your time slots.
Join the Dograh Community
Dograh is an OSS alternative to Vapi. Join our Slack community for queries, releases, best practices & community interactions.
Step 5: Check consent before the first outbound call
Consent has to be on record before the campaign starts. Under the Telephone Consumer Protection Act (TCPA), the FCC's calling rules require the called person's prior express consent for a call to a mobile that uses an artificial or prerecorded voice, and AI voices count. A call about something the patient already has, such as a check-up that is due, is generally informational and needs that consent. Any offer makes it telemarketing, which needs prior express written consent.
So keep offers off reminder calls. When a patient asks not to be called again, the agent writes the opt-out to your system, and your system removes the number from the next list. This is our reading, so confirm your own position with counsel before the first campaign.
Inbound needs no call consent, since the patient chose to call, though call recording has its own rules. AI Voice Agents by Use Case sets out the consent rules for each kind of call.
Check: every row in your CSV has consent on record for the kind of call you are making.
Before you ship it
Test each direction the way it will run. Browser test calls count as inbound by default. To test the outbound path in the browser, add the variable direction with the value outbound in the Variables tab. Then click Phone Call in the editor header to ring your own phone from a chosen Caller ID. Editor calls run the draft, while numbers and campaigns run the published version.
Run through this list before going live:
- The inbound greeting names the business and says how to reach a person.
- The outbound greeting says who is calling and why.
- The campaign's time slots match each contact's local time zone.
- Every contact on the list has consent for this kind of call.
- Opt-outs from calls reach your system before the next upload.
Glossary
- Inbound workflow
- The setting on a phone number in Dograh that says which agent answers calls to it. Several numbers can point at the same agent, and the dialled number tells the agent which line was called.
- Campaign
- Dograh's way to call a list of contacts from a CSV, with its own retries and calling hours. Calling hours run in one time zone per campaign.
- Delayed Start
- A Start Call setting that sets how long an outbound agent listens before it speaks, from 0.1 to 10 seconds. It helps with voicemail and call screening, where silence or a recording answers first.
- Prior express written consent
- The stricter consent the Telephone Consumer Protection Act requires for telemarketing calls that use an artificial or prerecorded voice. Service calls about something the person already has generally need prior express consent instead.