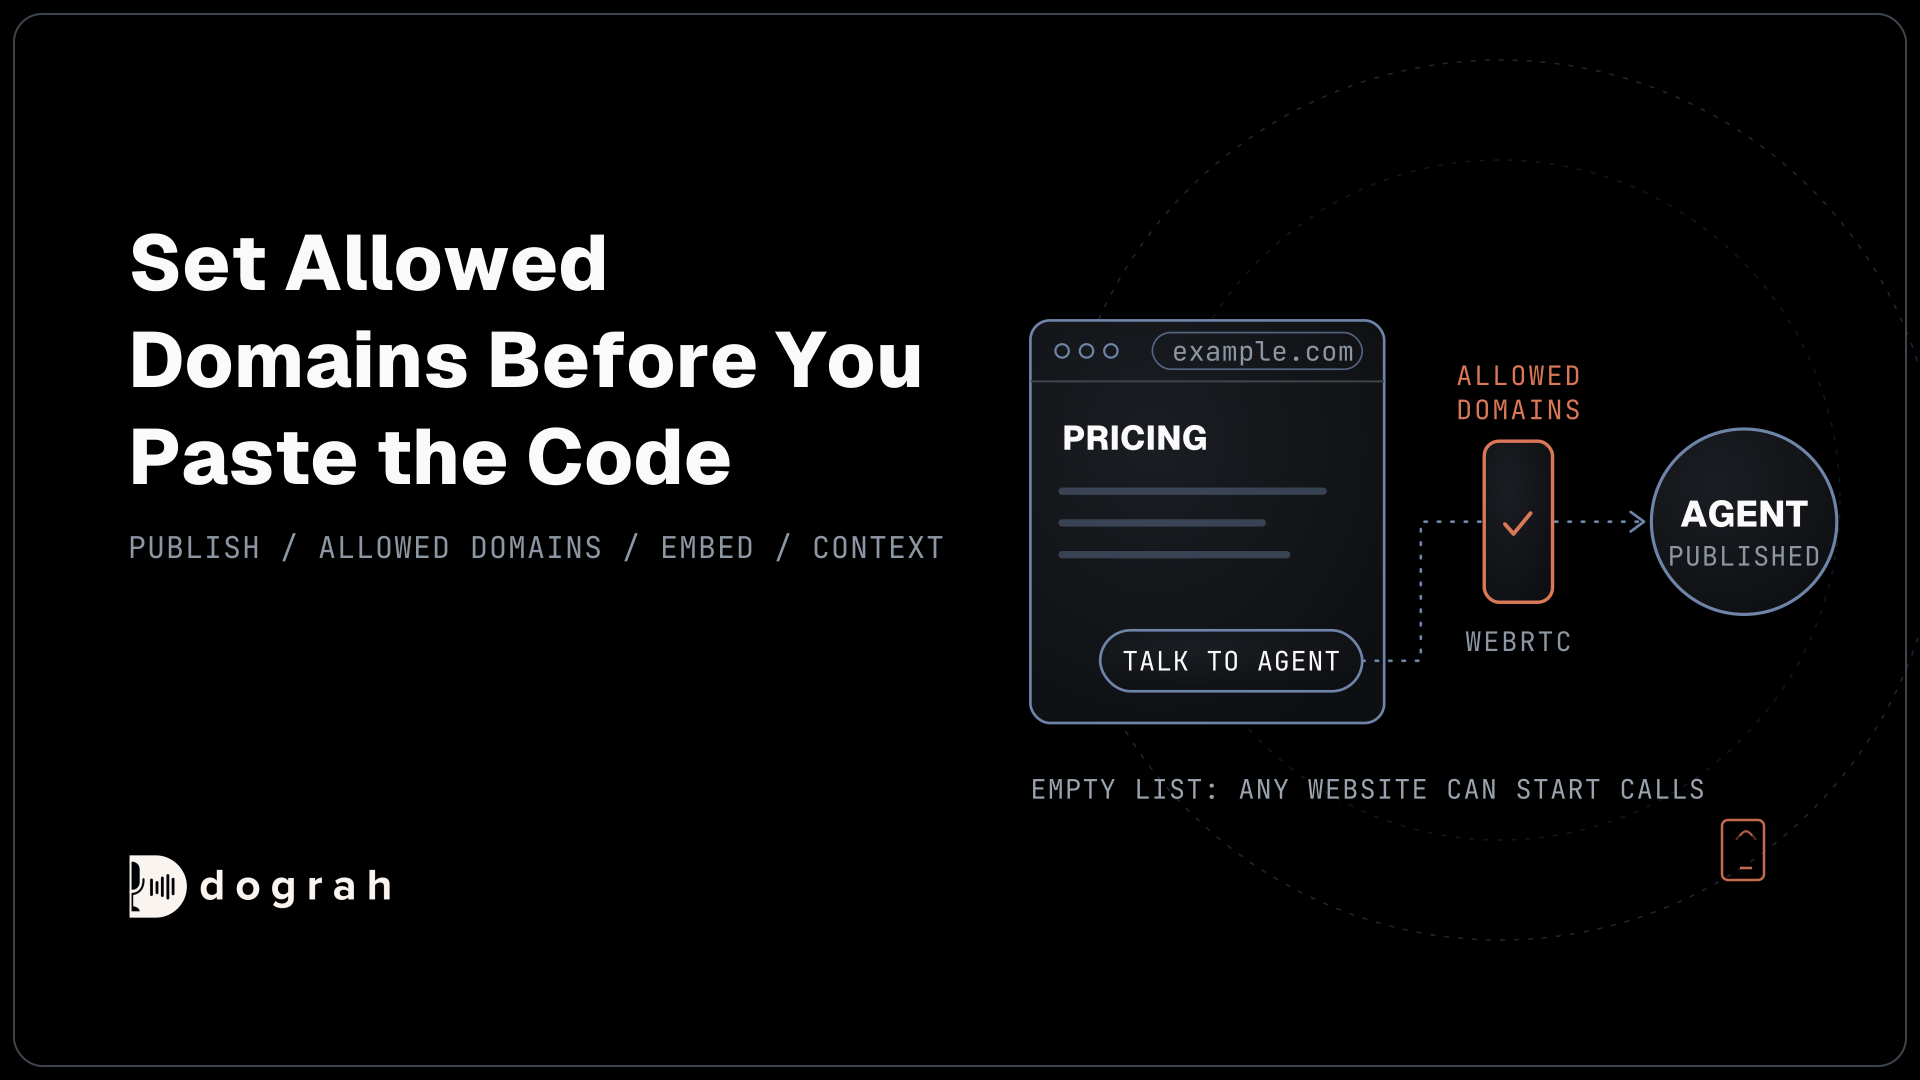

To add a voice widget to your website with Dograh, publish your agent, open Settings, go to Add to Website and click Configure Widget. Turn on embedding, add your domain under Allowed Domains and pick Voice, then save and paste the code into an HTTPS page. You can self-host Dograh or run it on Dograh Cloud.
Key Takeaways
- The widget runs the published version, so publish before you paste the code.
- An empty Allowed Domains list lets any website start calls on your agent.
- Visitors can read and change page context, so never pass trusted data that way.
This post is part of our guide to how to build an AI voice agent, where a website widget is one of the ways to go live. Here we add a voice button to a website, step by step, in Dograh, our open-source AI voice agent platform.
What you need before you start
The 10-minute setup starts once you have a working agent. If you don't have one yet, Build Your First Voice Agent in Under 2 Minutes gets you there. You also need access to your site's HTML, or a site builder that lets you add a script tag to a page.
The page must be served over HTTPS. According to MDN's getUserMedia reference, browsers allow microphone access only in secure contexts, such as HTTPS or localhost, and they always ask the visitor first. On plain HTTP, a voice widget can't hear anyone. A chat widget needs no microphone, though HTTPS is still the safer choice.
Our example is a software company that wants a "Talk to Agent" button on its pricing page, so visitors can ask about plans by voice.
Step 1: Publish the agent
The widget always runs the published version of your agent, never the draft you are editing. In the agent editor, click Publish version. Later edits stay in the draft, and visitors keep hearing the published agent until you publish again. That split is useful, because you can change prompts and test them in the editor while the button on your site keeps working.
Check: the editor shows a published version, and you have no unsaved changes.
Step 2: Turn on embedding and set Allowed Domains
This step decides which websites can start calls on your agent. Open Settings in the bar at the top of the agent editor, scroll to Add to Website and click Configure Widget. The dialog opens with the line "Add [your agent] to any website with a simple script tag."
Switch on Enable Embedding. Then fill in Allowed Domains, which the dialog labels "(leave empty to allow all domains)". Leave it empty and any website that copies your code can start calls on your agent. Add your real domain instead, such as example.com, or *.example.com for every subdomain. While you test on your own machine, add localhost too, or the widget's requests are rejected. Remove it before launch.
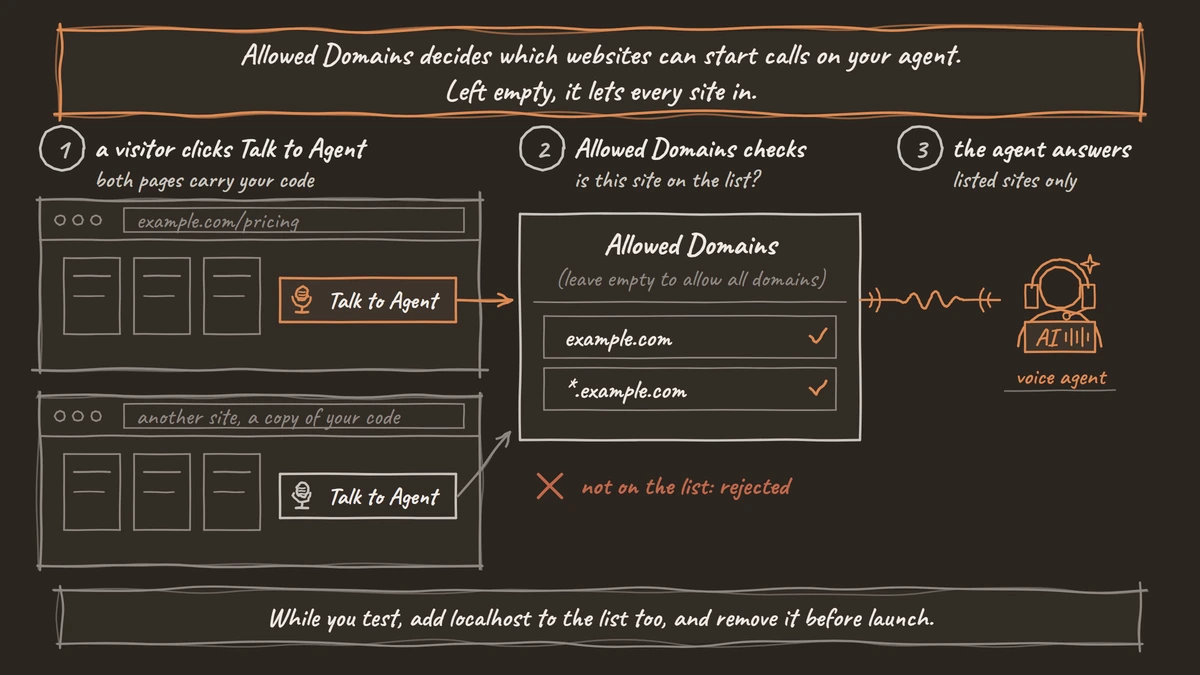
You don't need your own server to mint tokens. The access token is built into the script the dialog generates, and Allowed Domains limits where it works. The dialog sets no usage limit or expiry on that token, so Allowed Domains is your main control, and the Add to Website page explains each option.
Check: Enable Embedding is on, and Allowed Domains lists only your domains, plus localhost while testing.
Step 3: Choose the widget type and look
Pick how visitors talk to the agent and where the button appears. Under Widget Type, choose Voice, where visitors talk to your agent by voice, or Chat, where they type. The same agent runs either way.
Under Embed Mode, choose one of these:
- Floating Widget: a button in a corner of the page.
- Inline Component: a panel inside a section of your page.
- Headless (Bring Your Own UI): no Dograh interface, so your own buttons drive the call through JavaScript.
Under Configuration, set the Button Text, which defaults to "Talk to Agent", and the Button Color. For the floating button, pick a Position: Bottom Right, Bottom Left, Top Right or Top Left. Inline mode adds a Call to Action Text line. If your site isn't in English, open the Voice Call Text section and translate the words visitors see. A blank field keeps the English default.
Click Save Configurations.
Check: the dialog now shows an Embed Code box with a Copy Code button.

Open Source Alternative to Vapi / Retell
Self-hosted voice agent platform — no per-minute fees
dograh-hq/dograh
Star on GitHub
Step 4: Paste the code into your page
Copy the code and add it to every page where the button should appear. Click Copy Code. The snippet is a single script tag that loads dograh-widget.js in the background, with your token in its address. Paste it before the closing </body> tag, or into your site builder's custom code area.
For a Floating Widget, that's all. For an Inline Component, also place the container below where the panel should render, using the exact id dograh-inline-container:
<section class="pricing-help">
  <h2>Questions about plans?</h2>
  <div id="dograh-inline-container"></div>
</section>
What this does: The widget finds the
dograh-inline-containerdiv and draws the call panel inside it, here under the pricing page's own heading.
Load the page and click the button. A floating voice button changes its label as the call moves along: your text, then "Connecting...", then "End Call", and "Retry" if the call fails.
Check: the button appears, the browser asks for the microphone, and the agent greets you.
Step 5: Pass page details to the agent
The widget can tell the agent what the visitor was looking at, so the first sentence fits the page. The snippet you copied sets a data-dograh-context attribute. Replace the object inside it with what your page knows, or call setContext() once the visitor logs in or changes page:
window.DograhWidget.setContext({
  page: "pricing",
  customer_id: "c_10482"
})
What this does: It tells the agent this visitor is on the pricing page and gives a customer id. The values apply from the next conversation, and a call already running keeps the old ones.
Each key reaches your prompts as {{initial_context.page}}. Limits apply per conversation: up to 50 variables, 64 characters per name, 2,000 characters per value and 8 KB in total. Names can't contain dots, spaces, pipes or braces.
Visitors can read this context and change it in their own browser. So never pass secrets, and never let it decide what the agent will share. Treat a value like plan: "pro" as a hint for wording only. For details the agent must trust, pass an opaque id like customer_id and let Pre-Call Data Fetch load the real record from your system.
Check: a test call from the pricing page gets a greeting that mentions pricing.
Join the Dograh Community
Dograh is an OSS alternative to Vapi. Join our Slack community for queries, releases, best practices & community interactions.
Before you ship it
A widget call runs over WebRTC, the browser standard for live audio, and it differs from a phone call in two ways. Telephony-only tools such as call transfer don't run in browser calls, so tell the agent in the prompt to offer a callback, and write that request to your system, instead of a transfer. And a browser call runs at 16 kHz, the most Dograh's pipeline uses, so the agent sounds as it did in your editor tests.
If you use Headless mode, call window.DograhWidget.start() from inside a click handler, because browsers only grant the microphone after a user action. Chat widgets keep a conversation for up to 1 hour, then offer "Start new chat", and every widget conversation shows up in the agent's call history. For a full agent with documents, booking and a transfer for the phone line, see How to Build an AI Receptionist.
Before launch, check these:
- Allowed Domains lists your live domains and no longer includes localhost.
- The page context holds no secrets and no data the agent must trust.
- The agent offers a callback instead of a transfer.
- You published the version you tested.
Glossary
- Allowed Domains
- The list of websites that may run your Dograh widget. An empty list allows every domain, so add your own domains, plus localhost only while testing.
- Access token
- The access key built into the widget's script address. Anyone on an allowed domain can use it to start a conversation, which is why the domain list matters.
- Headless mode
- A widget mode with no Dograh interface. Your page's own buttons start and end calls through the window.DograhWidget JavaScript API.
- Secure context
- A page served over HTTPS or from localhost. Browsers only allow microphone access there, so a voice widget on a plain HTTP page can't hear the visitor.